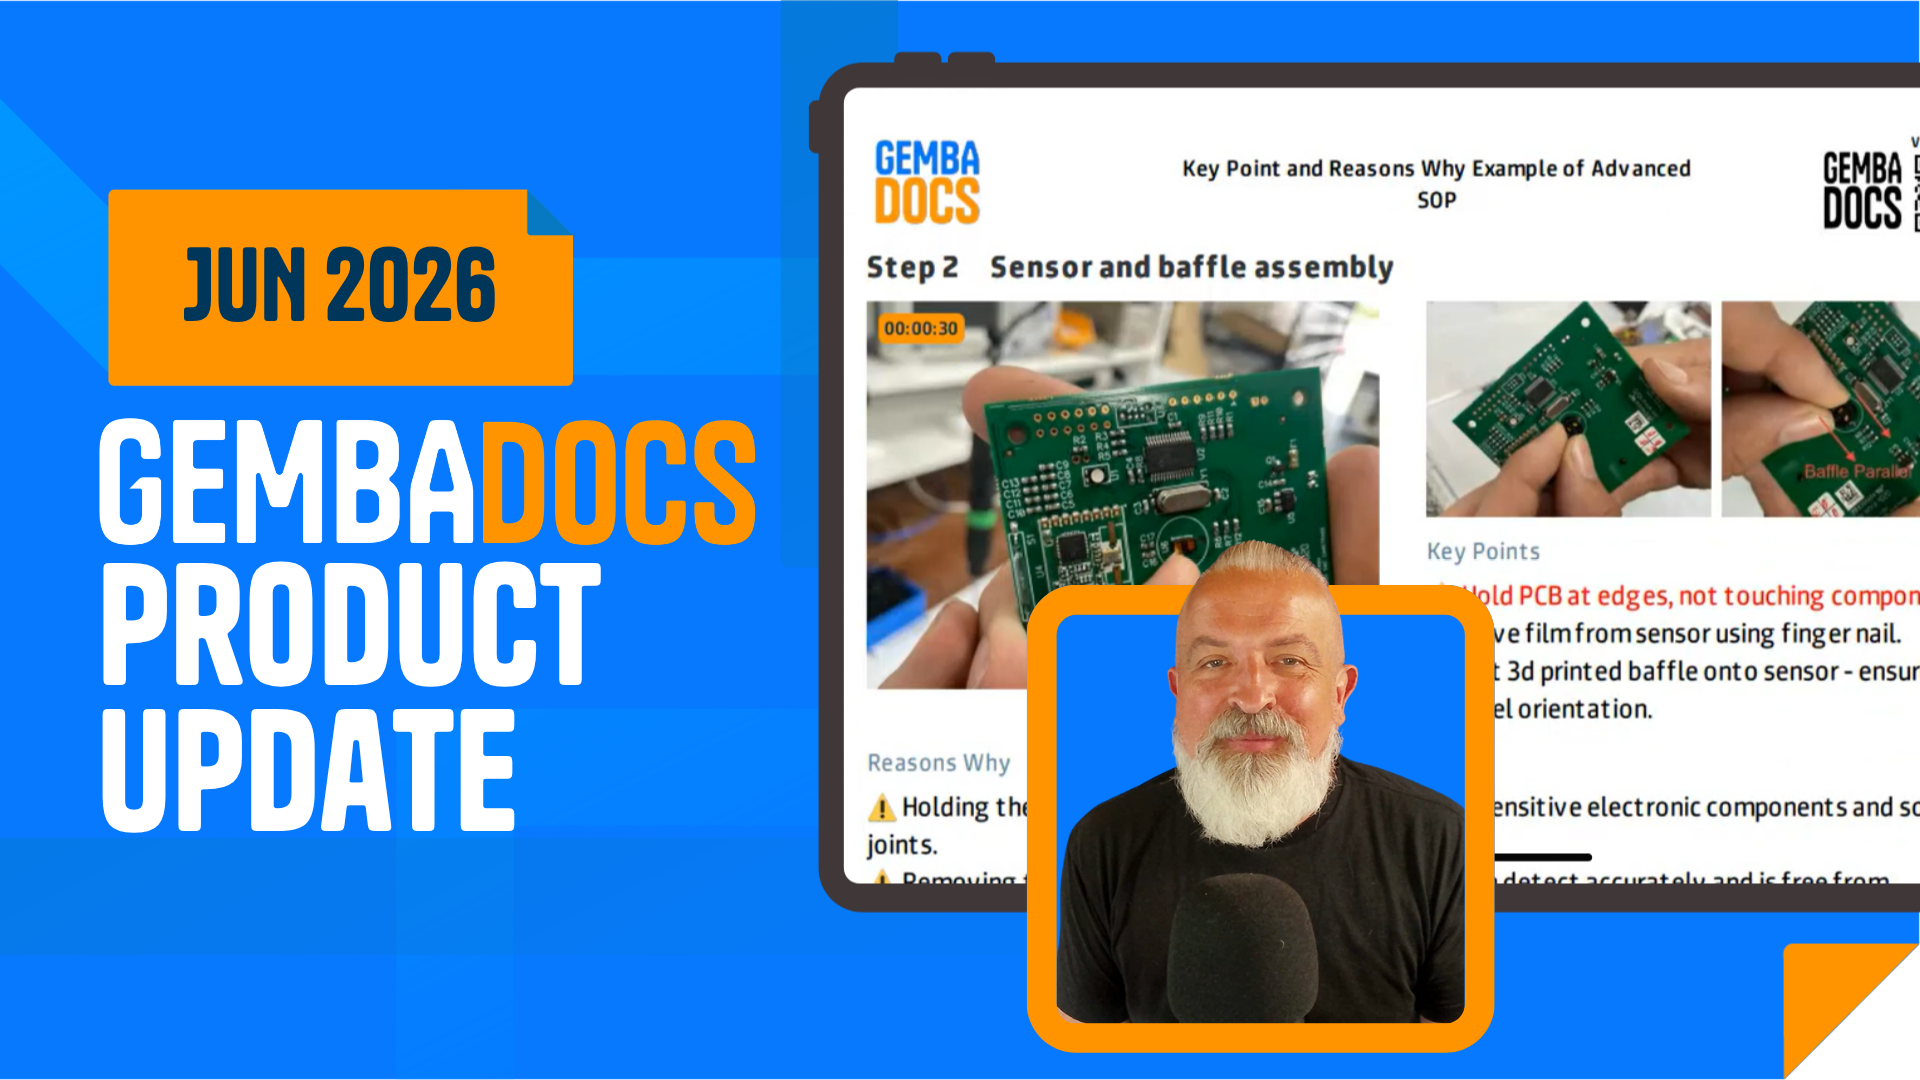
The standard SOP builder in GembaDocs is designed for longer cycle time processes – the kind where a quick screen recording alone won’t cut it. It’s also the right tool if you’ve started a SOP on the mobile app and need to edit it on your desktop.
Here’s how to build one from scratch.
Step 1 – Open the SOP tab and create a new SOP
Log into GembaDocs and go to the SOP tab.
Tap the Create button in the top left corner. You’ll see four options – select Standard SOP.
Step 2 – Give the procedure a title
Keep it clear and specific. The title should tell an operator exactly what process they’re looking at before they read a single step.
Step 3 – Add your first step
You have a few options for adding an image to each step:
- Use the Snipping Tool on your computer to capture part of your screen, then press Ctrl+V to paste it directly into the step
- Upload an image from your machine
- Upload a video – up to one minute long
Once your image is in, you can zoom in or out and annotate it to highlight key areas.
Step 4 – Write the step description
You can type your description directly, or use one of two faster options:
- Voice to text – speak your description and GembaDocs will transcribe it
- AI polish – the AI takes what you’ve said or typed and refines it into clear, usable instruction
Step 5 – Repeat for each step
Work through the process one step at a time until the full procedure is documented.
Step 6 – Share or deploy the SOP
Once complete, the SOP is ready to use. You have three options:
- Print it in full
- Deploy it via a GembaDocs QR code so operators can pull it up on the shop floor
- Bookmark the SOP link in your browser for quick access whenever you need it